Monday, December 29, 2014

Farm Style New Years Tablescape On A Budget

Farm Style New Year's Tablescape
On A Buget!


I have been using the same New Year's Tablescape for the last two years so this year I thought I would share my budget worthy table!

I had most of the items, plates, mason jars & tart molds but I went to the thrift shop and dollar store for the rest.


~ White Plates ~


I used my vintage ironstone but my Dollar tree has very nice white plates now with a beaded edge!

~ Lighting ~


Lots of Mason Jars filled with Epson Salt & Tealights

~ Napkin Rings ~


Vintage Tart Molds

 ~ Linens ~


Burlap Table Runner, Dollar Store Place mat & Tan Ticking

~ Wine Glasses ~


Thrift Shop But Dollar Tree Has Nice Ones Too!


Making the Party Hats & Horns!


Party Hats & Horns From The Dollar Store


These were super easy to do!  The hats & horns can be any color but if you find a horn with a black mouth piece that is best!  If not, I simply sprayed the end plastic mouth piece of horn with black spray paint!

Hat:

Both the hat and horn were covered with vintage


Auld Lang Syne sheet music.  

Sheet Music Here To Save & Print.


I rolled the printed sheet music paper around the dollar store hat and hot glued to hold in place.  I trimmed off the excess paper from the bottom edge around the hat.

Around the hat bottom, I used black crepe paper and silver tinsel, both found at my Dollar Tree.

The top of the hat is actually a black curly ribbon, I simply tucked in the hole at the top and hot glued.

The clock image I found free on line but I will share with you:)

I cut out a clock image and hot glued it to the front.

Clock Image Here To Save & Print:


Horn:

The end of the horn I simply used hot glue to glue in some silver tinsel.


I made some Chalkboard prints and tied them to each chair.


A large brown bowl was filled with silver balls and that was my centerpiece.


I used an old galvanized bucket for my sparkling cider and wrapped the bottles with the same ticking and burlap.


This was simple, inexpensive and fun.  Everyone loved it!

Have a Happy New Year!

Wednesday, December 3, 2014

Holiday Chifferobe ~ Chalk Paint Rehab

Good Morning!

It's been a long time since I have posted and I apologize for that!

I have been so busy catching up on all of my furniture finds and here is my latest piece!


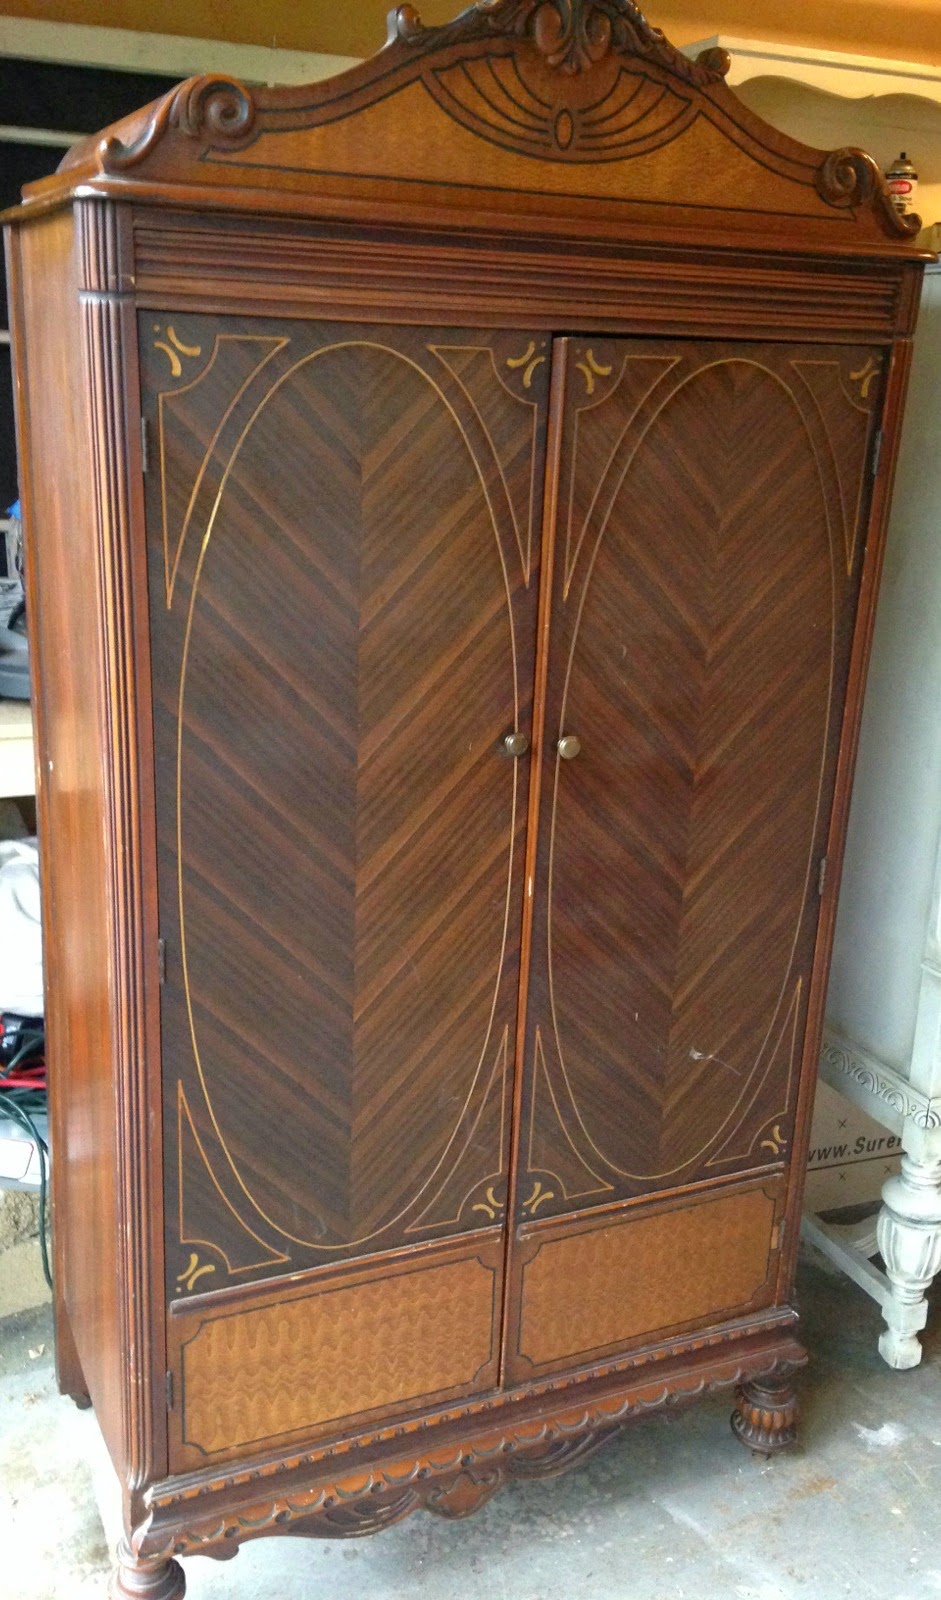
I love rehabbing chifferobes!  I think they are one of my favorite pieces of furniture to do.  A little more time consuming but there are so many things a chifferobe can be used for!

This piece was a multi tone wood color before I started.


I always look for pieces that are structurally sound because I don't have the time to repair furniture.

I used a multi-step process on this one.  I also paint the entire piece including the inside with this technique!

I use Annie Sloan Chalk Paint.

Step One & Step Two:

Base Coat & Second Coat French Linen 

I like my pieces to have a gray undertone so 2 coats are needed.

Step Three:

Paint Over French Linen With Old White

When I paint on the Old White I paint using a dryer brush, allowing the base coat of the French Linen to show thru.  I also paint randomly, crisscrossing, as I go, almost painting an 'x" formation the entire time.  This actually gives a lot of depth to the piece.

Step Four:

When the Old White has completely dry, I wet sand!  I use a wash cloth and a sponge with a rougher side instead of sand paper.  I want the grey to be my under coat that shows through, not the wood itself, and sand paper is too harsh for this technique.

Wet Sand all of the edges in places that would show wear over the years.

Step Five:

Age With Cocoa!

I Love the color Cocoa!  This is a great color I use to age the piece.  Take a small stiff bristled craft brush and dip into the Cocoa paint.  Wipe off most of the paint onto a paper towel leaving the brush more dry than wet.  Paint the Cocoa onto the edges of the of the piece, corners of the doors, around the knobs, basically any place that will show wear and tear.  Then wipe over a bit with a wet cloth.  I use a rag off technique where I just push the wet cloth onto the Cocoa paint area and lift off removing most of the paint, but allowing some old brown to be there.  Am I making sense?  If not...please email me I will walk you through it!


Step Six:

Seal With Clear Wax!

Then you are done!